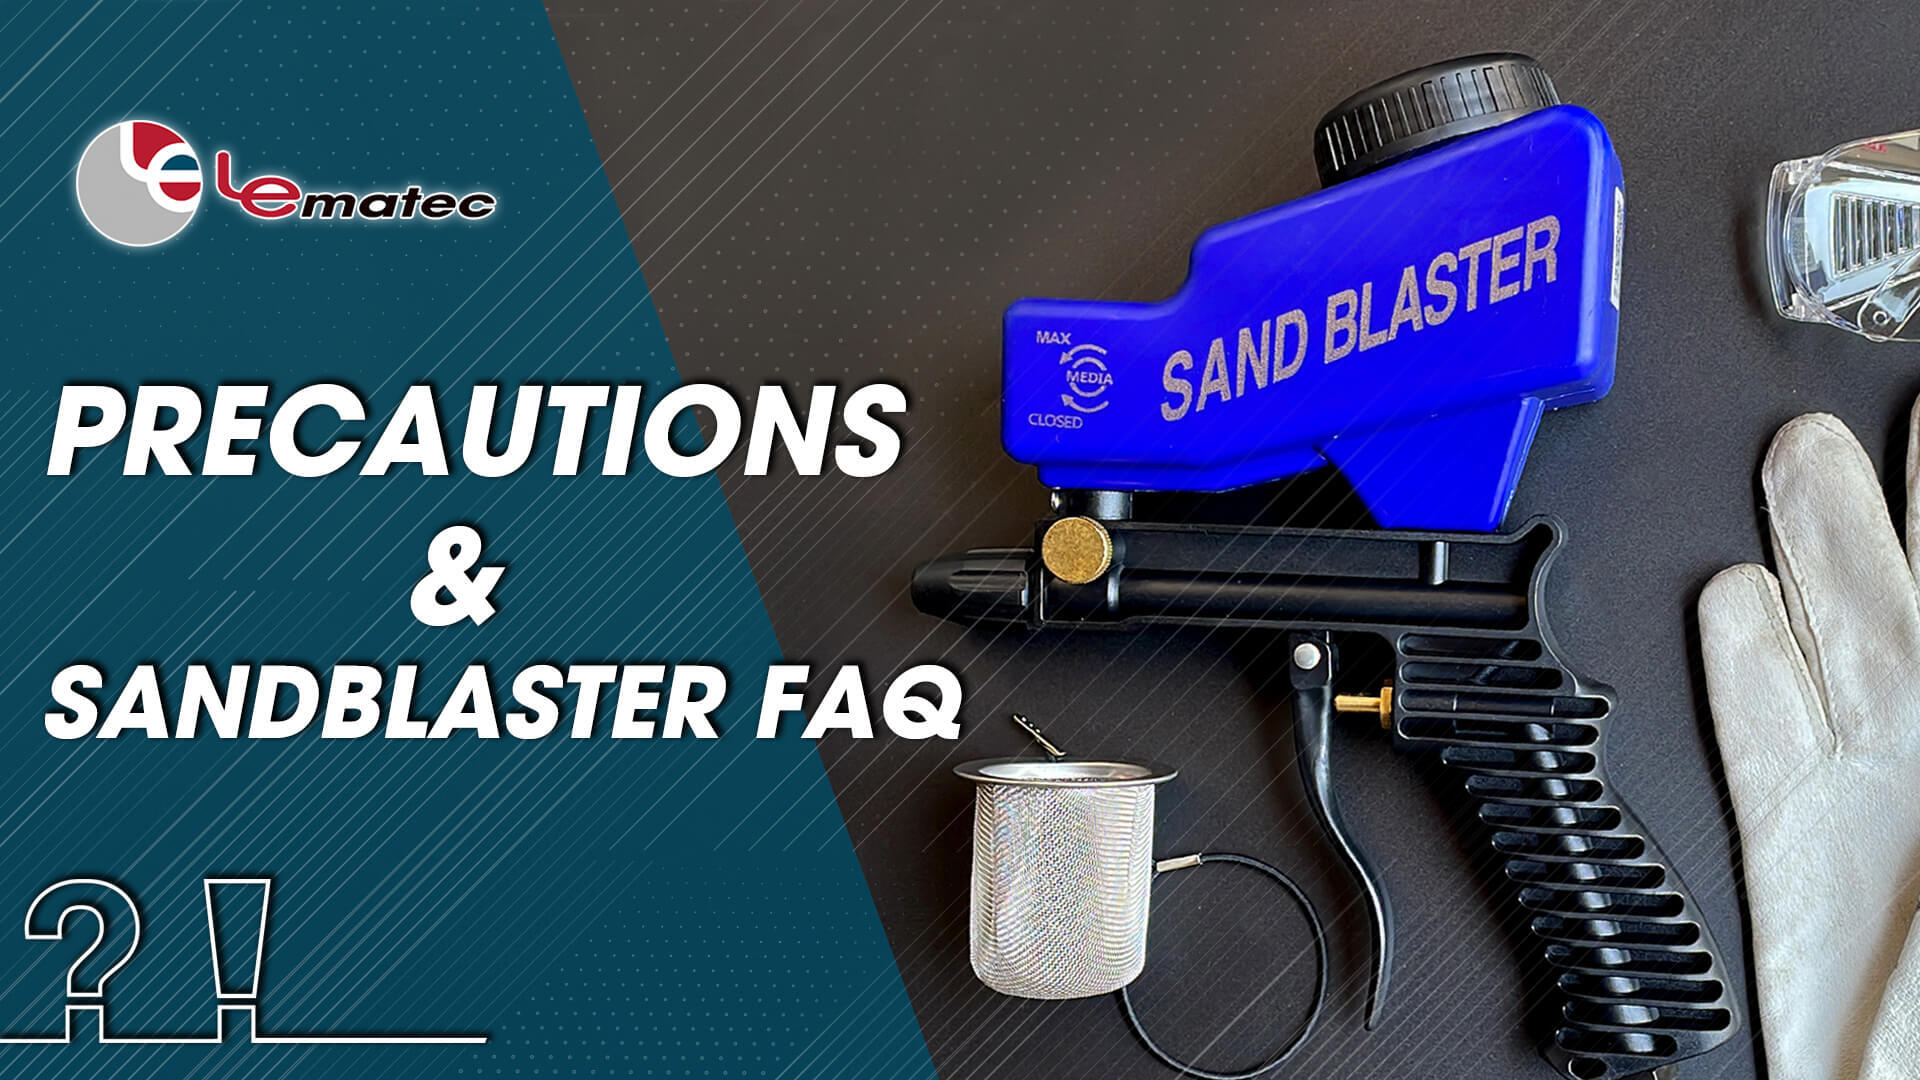
Precautions & Sandblaster gun FAQ
- Air compressor
- What to do if your sandblaster is clogging? Answer 1.10
- Why does the sandblasting gun have the problem of air leaks? Answer 2.
- Why is the sandblaster not powerful? Answer 3.
- Sandblaster types:
- Why need to refill the hopper often? Answer 4.
- Sandblasting gun operation
- Why do media pour out of the sandblaster tip? Answer 5.6.
- Why can’t the siphon-feed method work? Answer 7.8
- Why does the sand blaster use too much media (abrasive)? Answer 8.9.10
- What should do if the media does not eject or the sandblasting gun does not work? Answer 11, 12, 13
- Application:
- Why can’t the sandblaster remove the paint? Answer 8, 14
Answer as follows:
- It is recommended to install an air control unit in the air compressor. And the installation of an air filter at the air inlet of the sandblaster.
- The connection between the compressor pipeline and the tools has air leakage. If finding air leakage, please wrap the Teflon tape in the connection.
- Please confirm the air compressor is above two hp and the operating pressure is above 90 PSI.
- The sandblaster types depend on the size of the objects.
For smaller projects, AS118 is suitable because of its flexibility to use.
For bigger projects, we recommend AS118-2C. There is a siphon hose for continuous and longer-lasting operations.
If you want to check detailed information about the sandblasters, click Here.
- It is normal for the media to pour out of the tip if a valve is open.
- Even if the valve is closed, media is left in the chamber. The media will continue blowing out of the tip. This is perfectly normal.
- When the siphon-fed can't work, please refer to the steps in the video. And ensure the gap (small hole) of the tube isn't covered by the media.
- Please check if the air source is normal. The operating pressure needs to be higher than 90 PSI.
- Adjust the abrasive valve to control the amount of media.
- Reduce the media flow by reducing the air compressor PSI. Please don't go below 90 PSI.
- The acceptable abrasive size is #46 to #220. The abrasive particles are too large, which will cause blockage.
- Check if the valve for adjusting the media opens.
- Confirm whether the air source is normal. If the pressure is over 150 PSI, the sandblaster won’t work.
- Please confirm to use of the above two-HP air compressor.
- Use a harder abrasive. For example, it would be steel grit or aluminum oxide.
When will need to replace the steel nozzle/ceramic nozzle?
Because the abrasive and operating pressure will affect the consuming speed of the nozzles, it's difficult to provide the correct time that needs to replace the nozzles.
If you find the following status:
* There are cracks on the nozzle.
* The thickness of the nozzles becomes thinner.
* Abrasive consuming quicker than the original.
* Efficient of sandblasting isn't well as before.
About how to select the media and FAQ, please refer to the link.
How to use a sandblaster gun?
1. Choose the appropriate abrasive material: Choose the right type and size of abrasive material to use for your specific task. Some examples of abrasive materials are sand, glass beads, aluminum oxide, and walnut shells.
2. Prepare the work area: Cover any nearby surfaces with plastic sheeting or other protective material to prevent any stray abrasive material from damaging them.
3. Prepare the sandblaster: Connect the sandblaster to an air compressor and add the chosen abrasive material to the sandblaster's container.
4. Adjust the flow control valve: Adjust the flow control valve to achieve the desired flow rate of abrasive material.
5. Test the sandblaster: Test the sandblaster on a small, inconspicuous area to ensure that the flow rate and abrasive material are appropriate for the task.
6. Begin sandblasting: Aim the sandblaster at the surface to be treated, keeping a consistent distance and angle to achieve an even result. Move the sandblaster in a back-and-forth motion, gradually covering the entire surface.
7. Monitor the progress: Check the progress of the sandblasting periodically and adjust the flow rate or abrasive material as necessary.
8. Clean up: Once the sandblasting is complete, disconnect the sandblaster from the air compressor and dispose of any used abrasive material.
It's important to wear appropriate personal protective equipment, such as a dust mask and safety glasses, when using the Lematec sandblaster to protect yourself from the abrasive material and dust created during the sandblasting process. Additionally, always read the manufacturer's instructions and follow appropriate safety guidelines
The Easiest way to restore rusty is by sandblasting.


